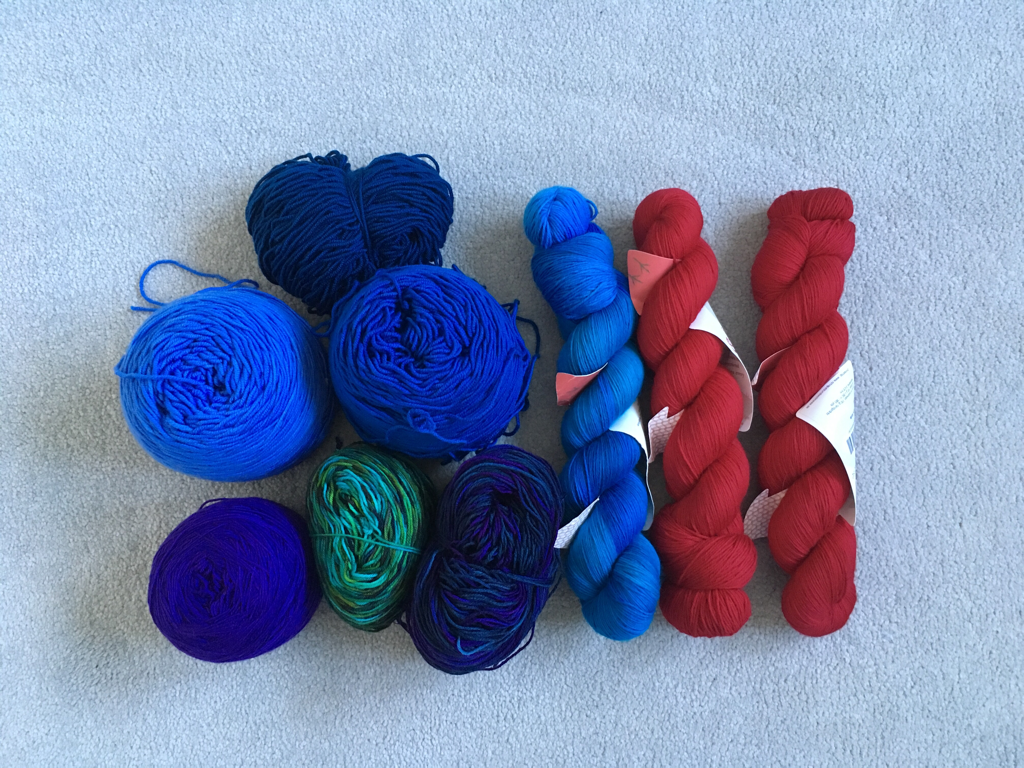
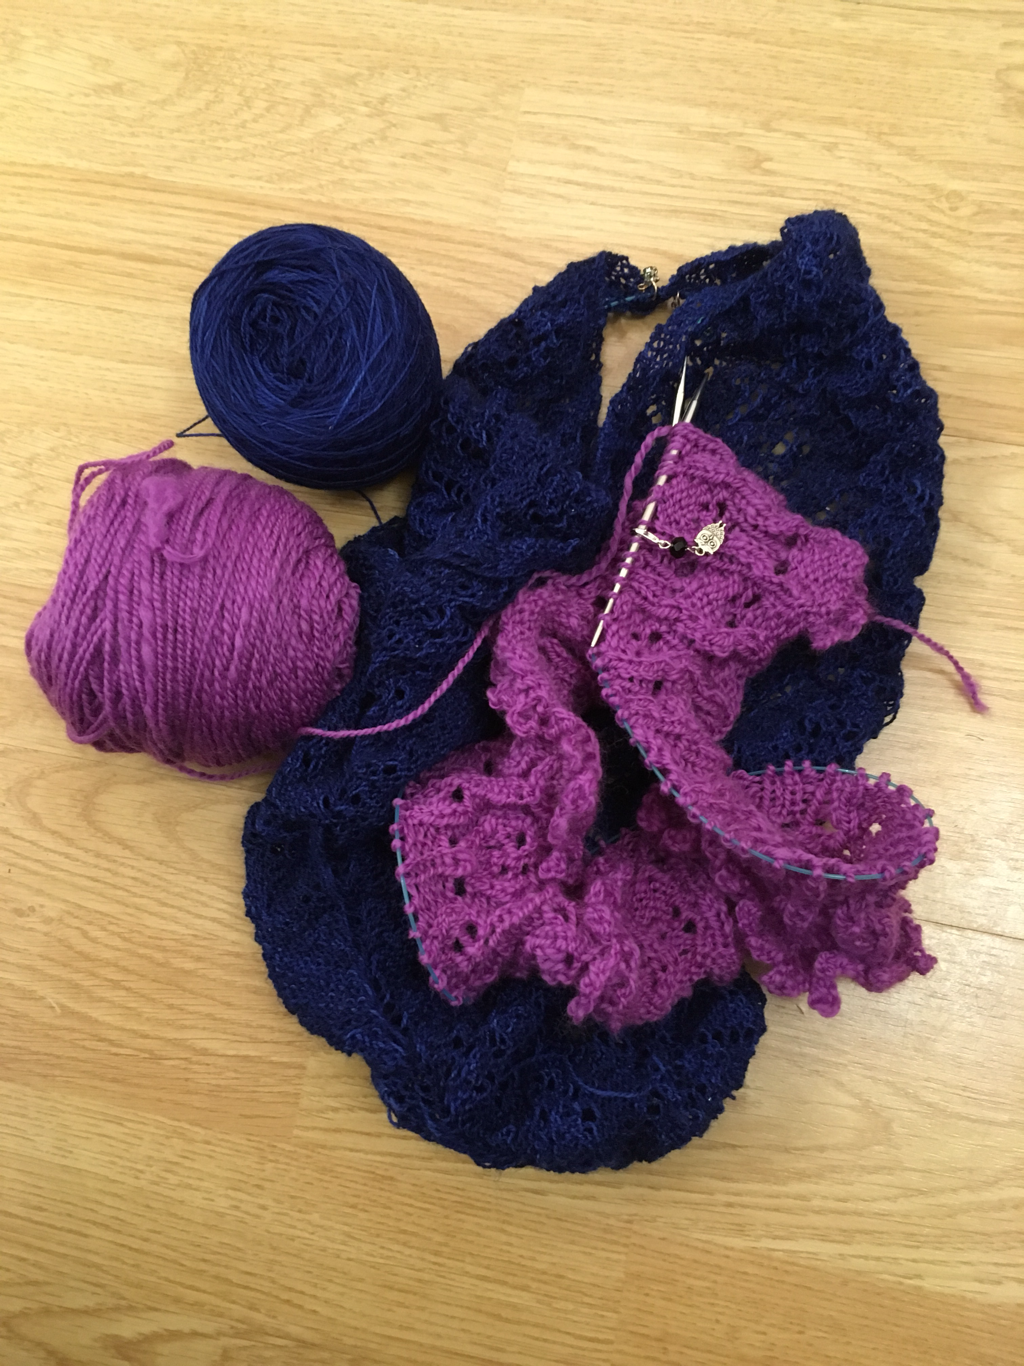
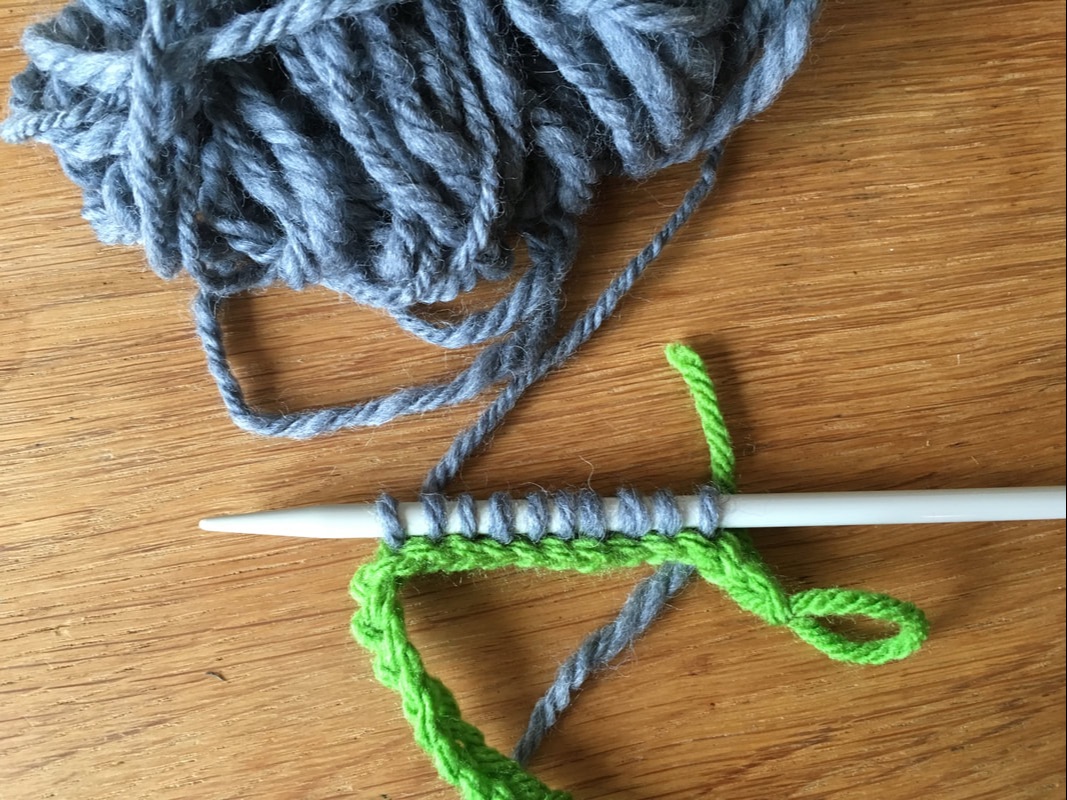
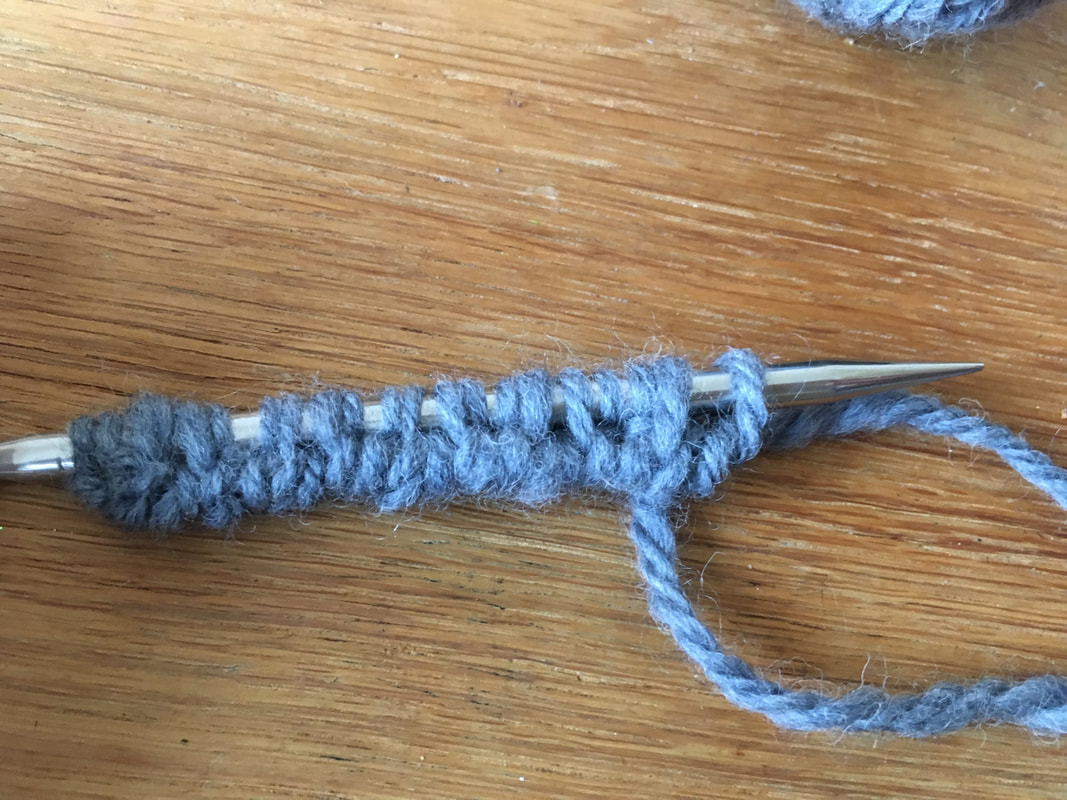
So the Indie Design Gift-A-Long began in the early hours of this morning and having got the school run out of the way, I have downloaded my first pattern and cast on!
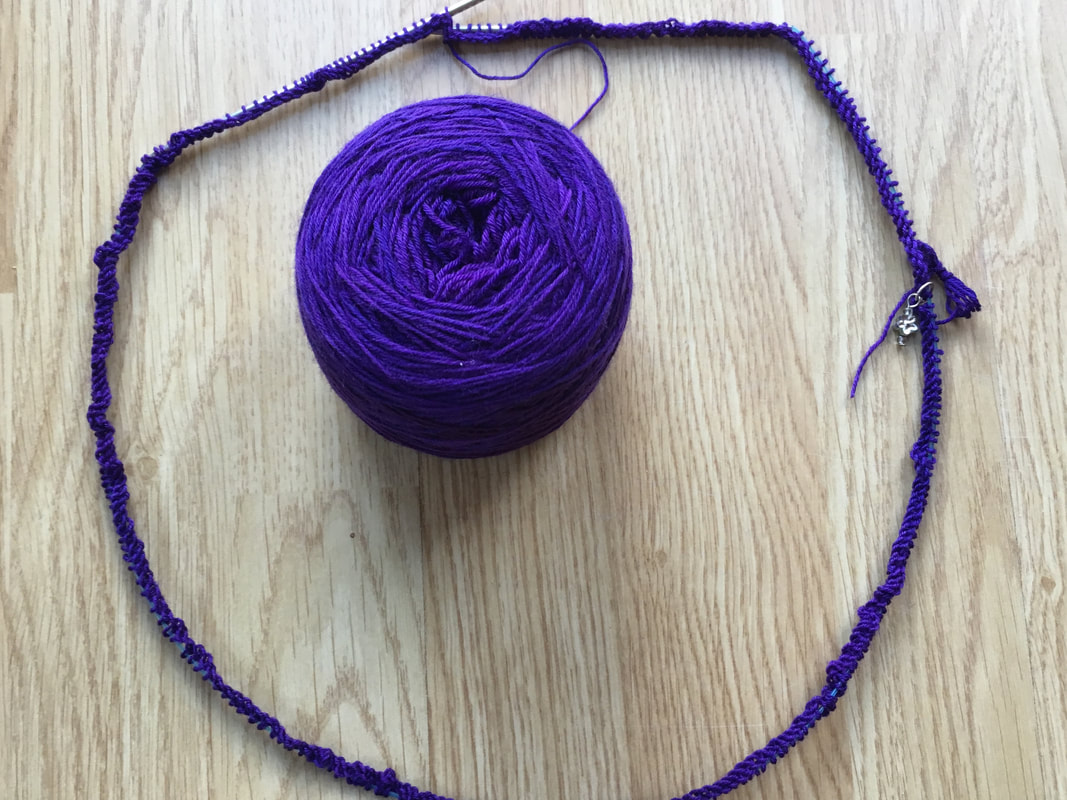
My first GAL project this year is one I meant to cast on so many times during Gift-A-Long 2016 but the time just ran away with me.
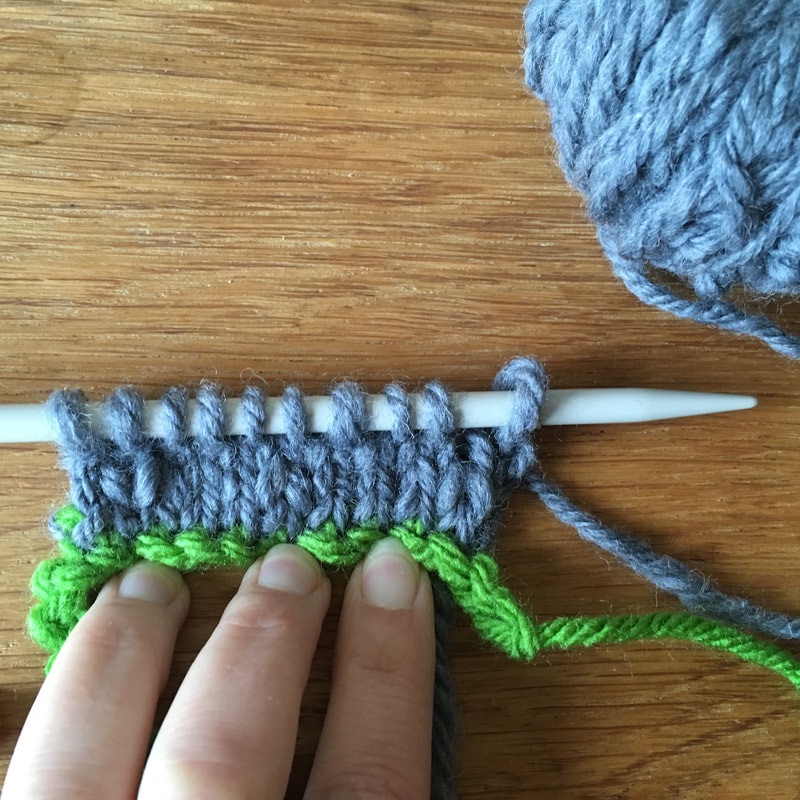
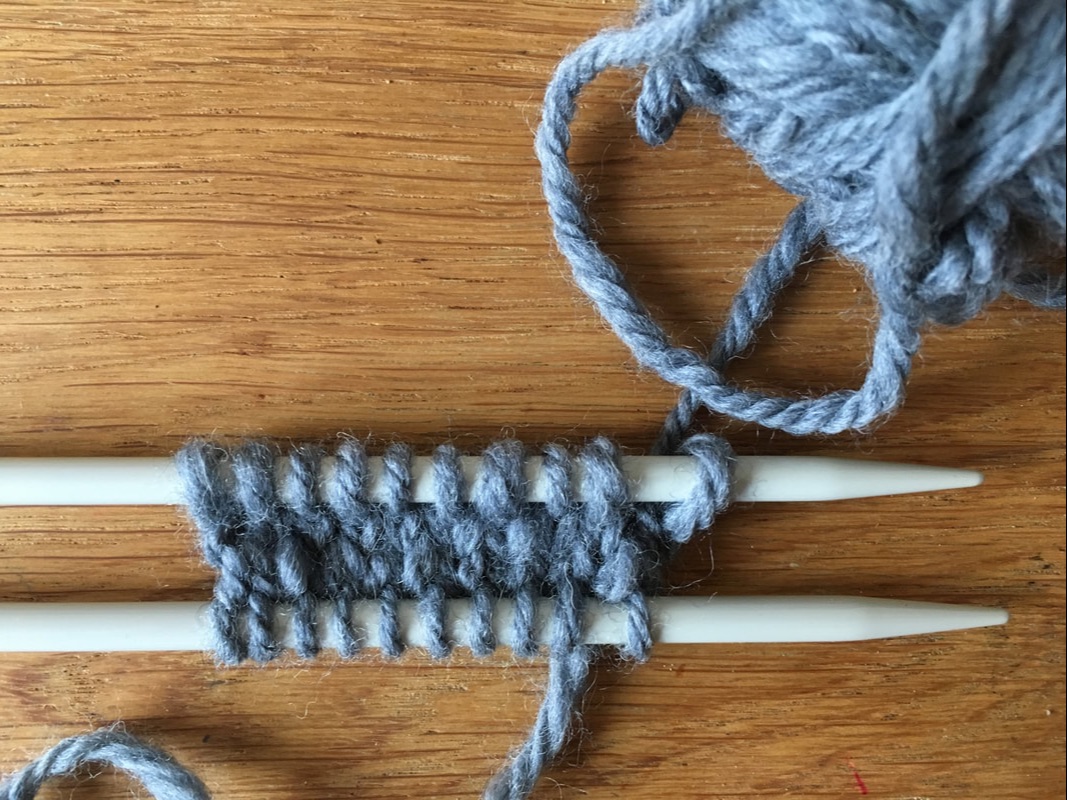
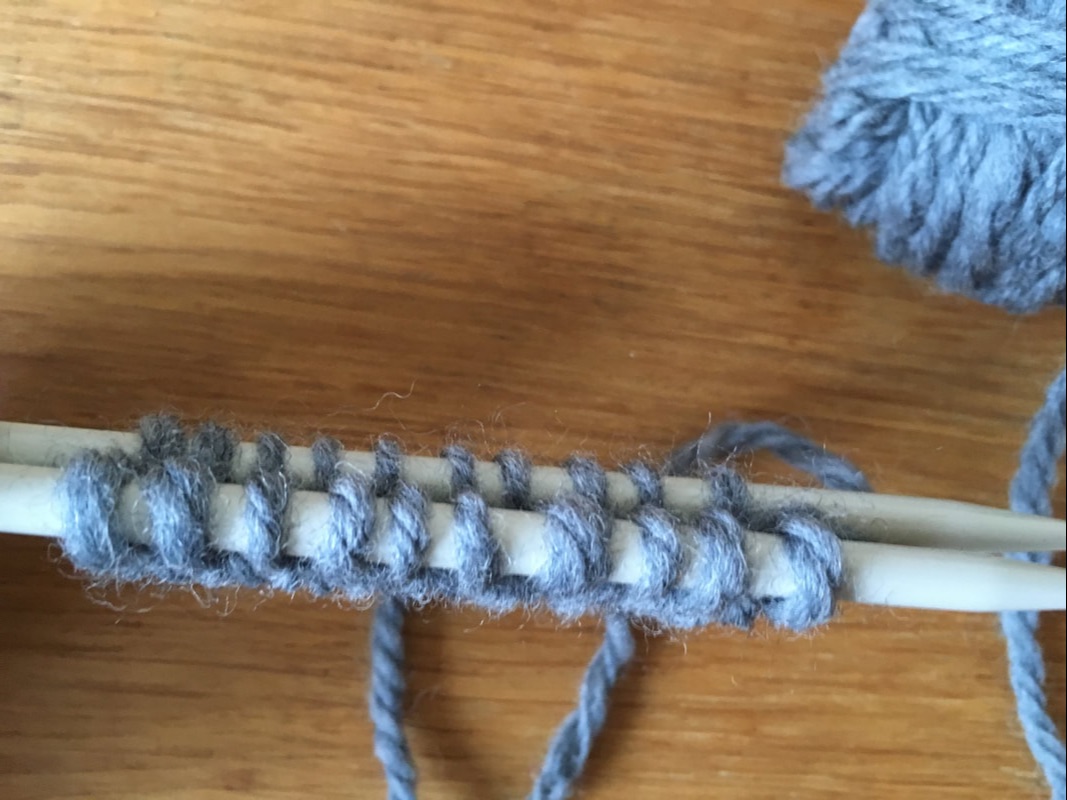
The Fathom Five Shipwreck Cowl by Raven Knits is a light fingering weight cowl inspired by a marine park in the designer's native Canada.
The Fathom Five Shipwreck Cowl by Raven Knits is a light fingering weight cowl inspired by a marine park in the designer's native Canada.
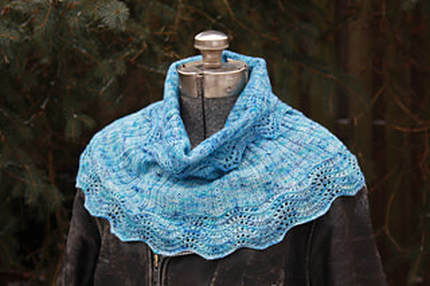
Photo copyright Raven Knits Design
If you like feminine accessories designs, there are plenty in Raven Knits Ravelry shop. My personal favourites are Gilraen's Cowl, which I think would look beautiful peeping out from underneath an understated classic trench coat, and the stunning Girdle of Melian Shawl - there's also a poncho version of the design if you prefer.
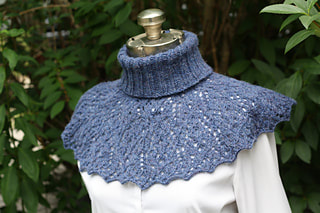 Gilraen's Cowl Photo copyright Raven Knits Design | 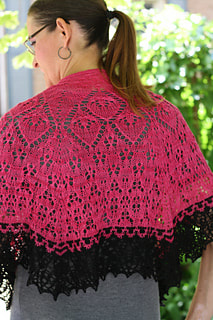 Girdle of Melian Shawl Photo copyright Raven Knits Design |
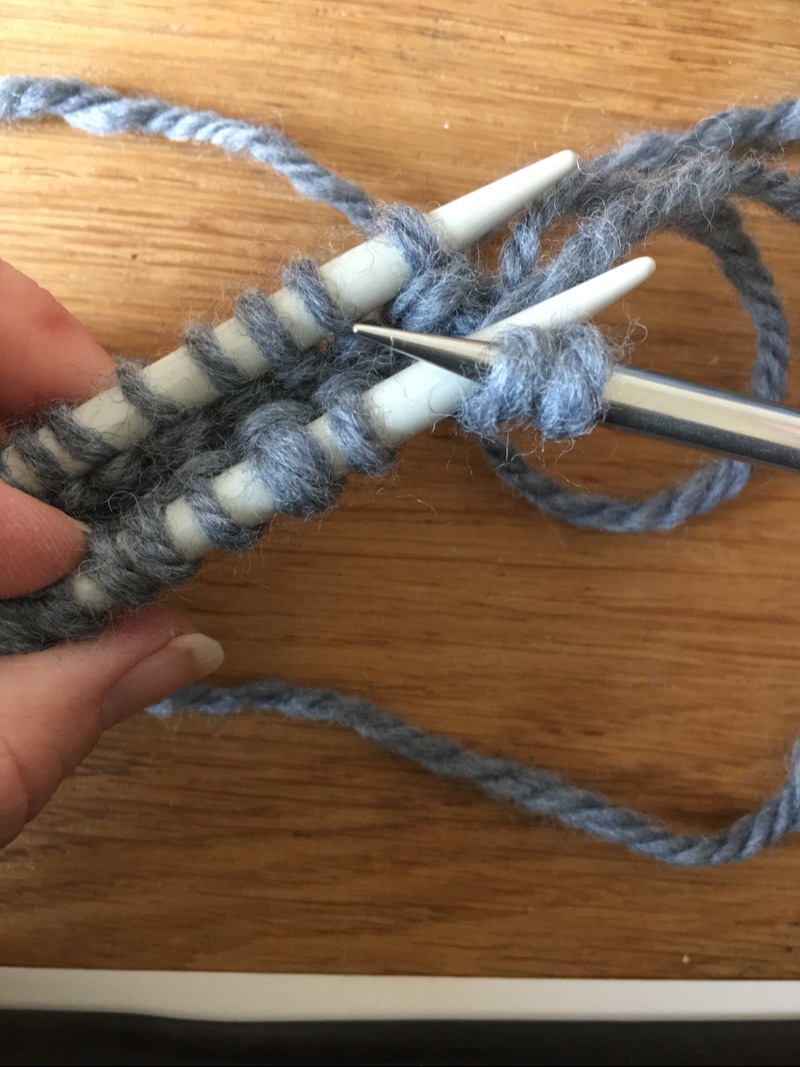
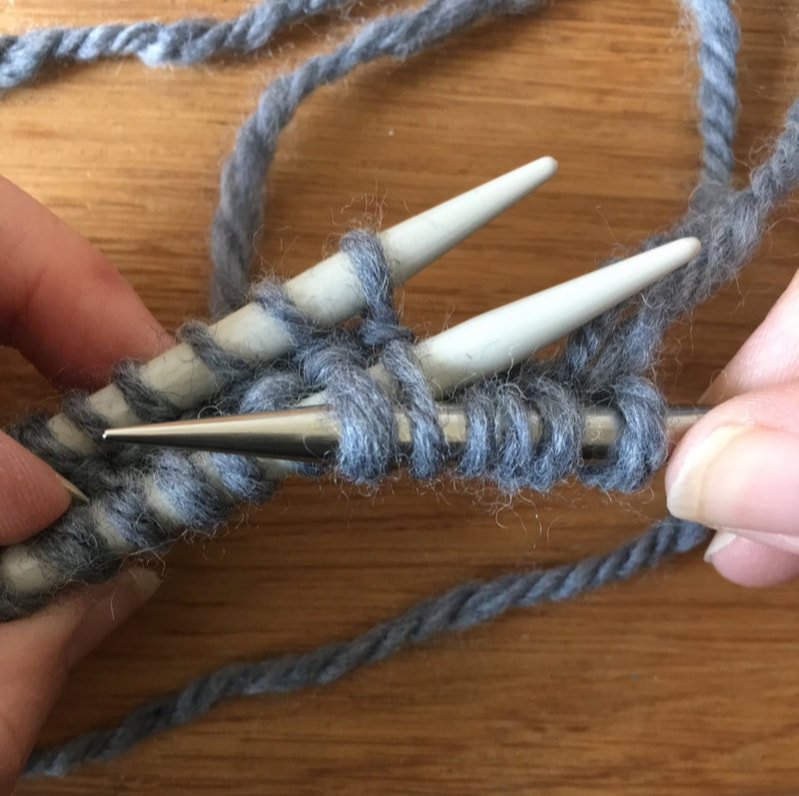
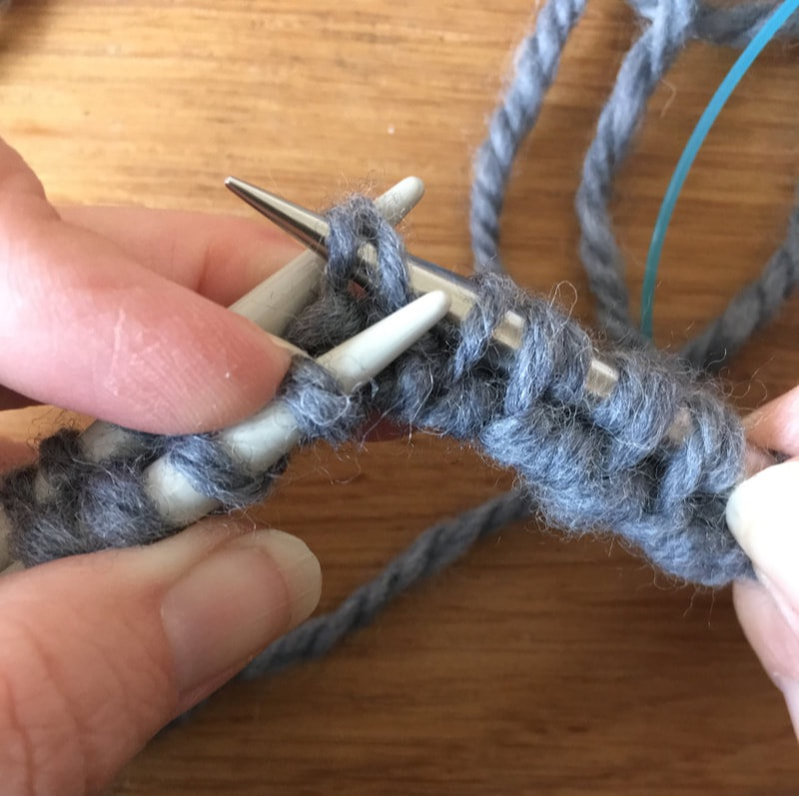
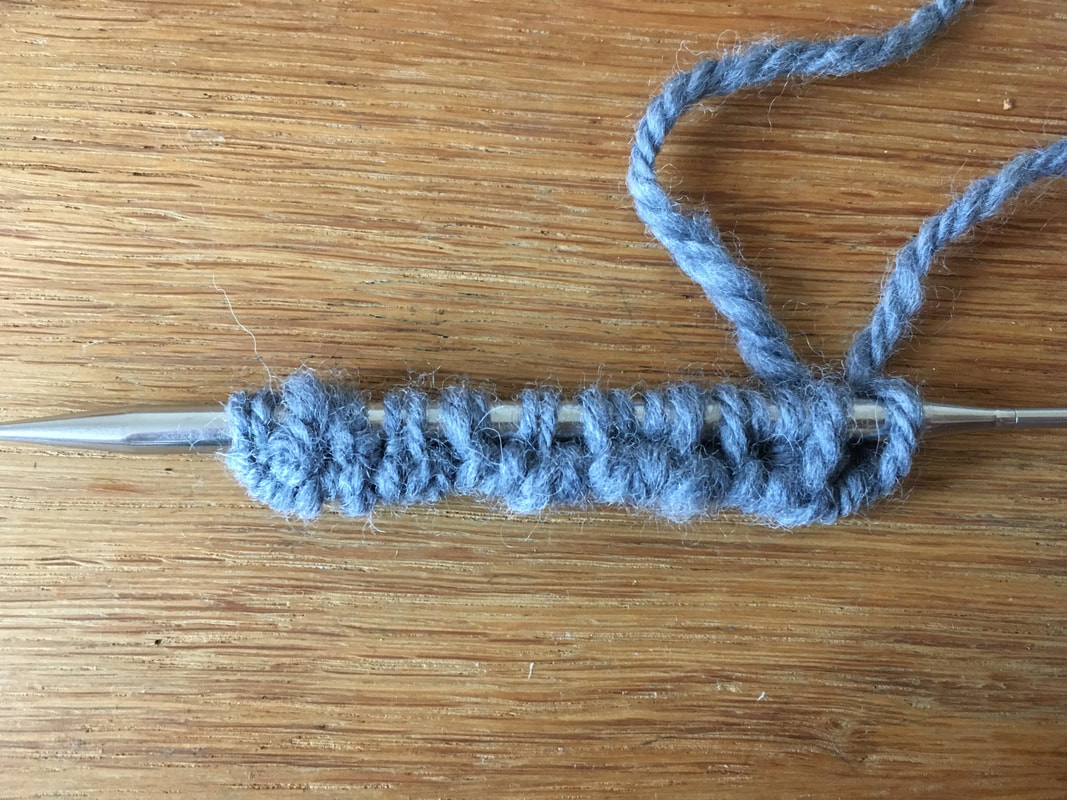
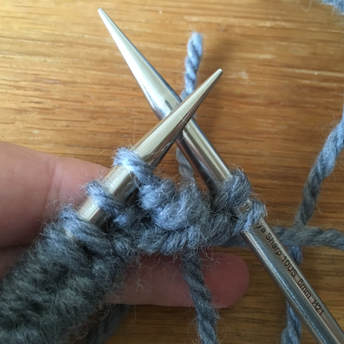
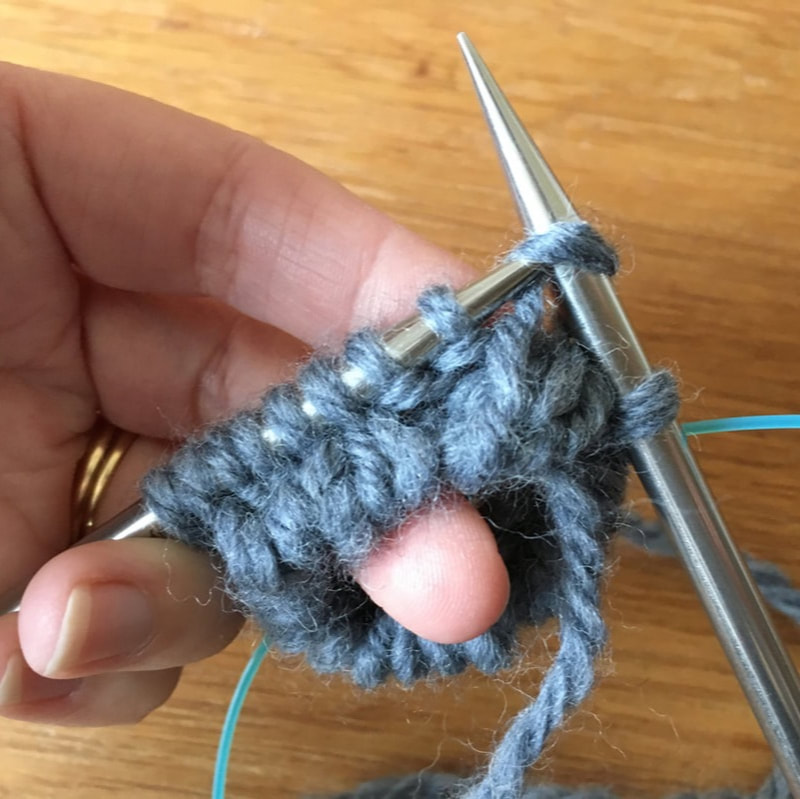
The pattern for Fathom Five Shipwreck Cowl is clearly written and easy to follow, with both charted and written instructions.
What have you cast on first this Gift-A-Long?!
What have you cast on first this Gift-A-Long?!


 RSS Feed
