Scarlett17Knits
  • Home
  • Blog
  • Pattern Shop
  • About
  • Contact
  • Terms and Conditions

The best laid plans of mice and knitters...

25/4/2016

0 Comments

 
Last week I was asked to write a new sock pattern. I had an idea in mind for a sock design anyway so the request just brought that idea up the queue a bit. When I'm designing I tend to write and knit in parallel, write a bit, knit a bit, tweak where needed, repeat as necessary until pattern and project are both complete. Recently I've been trying to write my sock patterns first in their entirety and then knit the sample from the draft finished pattern. 
Mid-week the pace was stepped up a bit, because the people requesting the pattern had had a change of plan and asked if there was any possibility I could have the pattern ready within a week. Due to my new way of working, the pattern itself was already written but I needed a photograph of the sock it produces. In order to take a photo I'd need a sock, and that meant I had to get on and knit one!
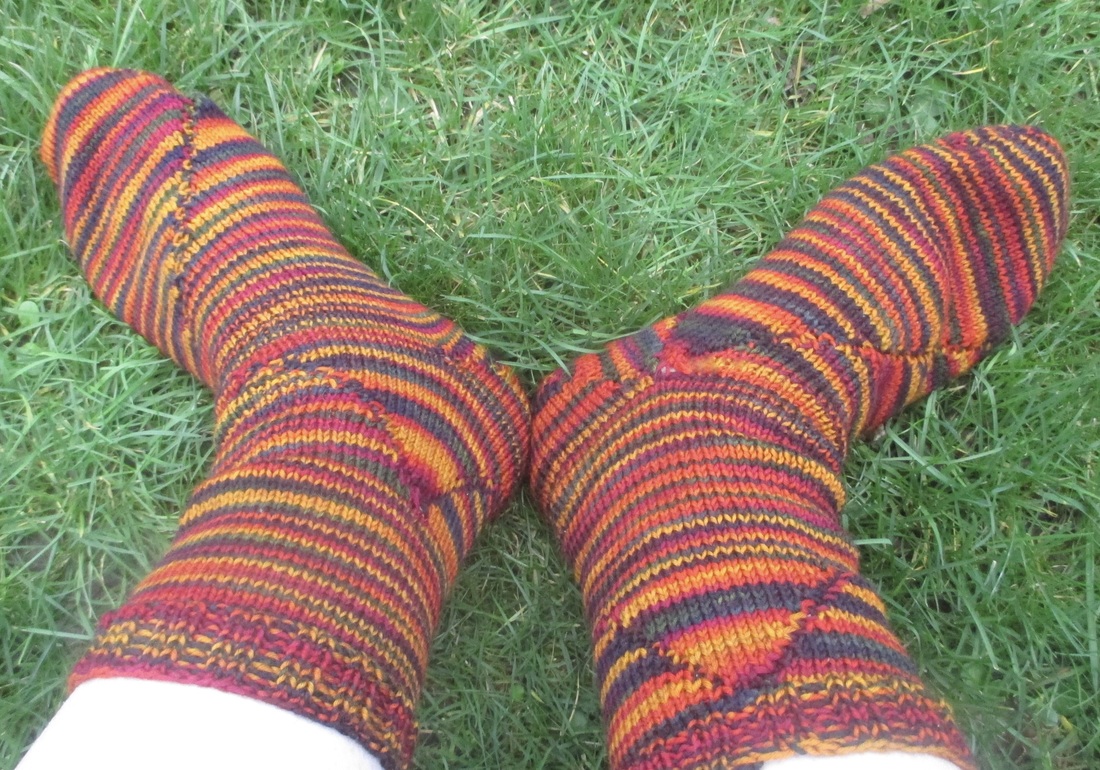
I cast on on Wednesday evening and worked the toe. By Saturday morning I had worked the foot, and on Saturday afternoon I turned the heel and started up the leg. 
Just as I reached the cuff, this happened...
Picture
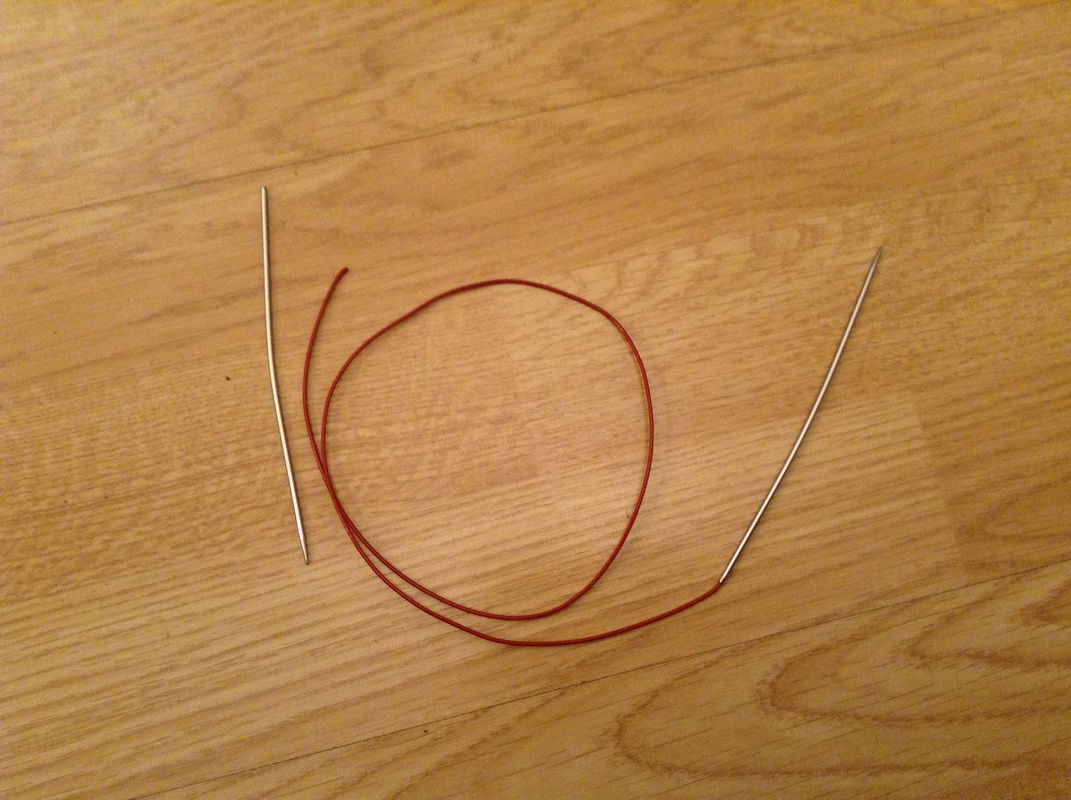
Thankfully it was at the end of a round and the stitches were all safely on the main part of the cord when the tip came off in my hand! I'm not blaming the needle. These are my absolute favourites (ChiaoGoo Red lace 2mm 80cm, if you're interested!) and I use them for pretty much every pair of socks I knit. They've done some serious mileage - you can see from how the tips have bent slightly due to my knitting style. (I tend to hold the back part of the tip trapped between my fourth and fifth fingers and my palm. The tip flexing around that point introduces that bend in thinner needles.)

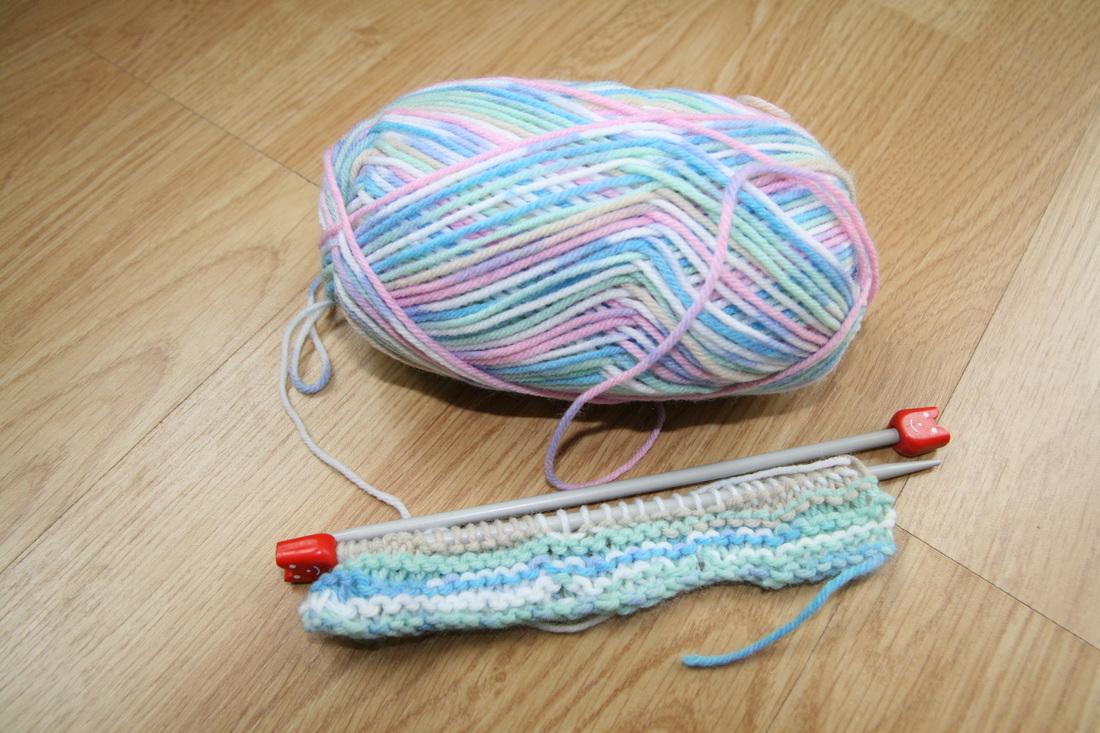
I do have other 2mm circulars so I was able to finish the sample sock, but as I did so I had a revelation. There had been no need for this sprint sock production after all. I have three other sock patterns in progress, one of which is already finished, edited and tested and ready to go and would be more than appropriate for the project in question. I have sent off for a replacement for my favourite needles, will use the existing pattern for the project, and can relax and knit the other sock later. Now all I need to decide is what else to make while I wait for the replacement to arrive!
0 Comments

What's in your sock drawer?

17/4/2016

0 Comments

 
I know I like to knit socks. I know I like to design socks. I was pleasantly surprised recently to find I already have 8 sock designs available on Ravelry (with one more in progress and a further one about to be cast on), and I made a bundle of them on my Ravelry designer page to put them all together. You can find that bundle here.
Some are toe-up, some are top-down, but my favourites are my Short Stack socks.
Picture
They are worked toe-up, but there the similarity to regular sock construction ends. I had been trying to think of ways to make socks that would really show off the changing colours of some wild sock yarn in my stash (Wollmeise Twin in Raku Regenbogen) without just going for plain vanilla stocking stitch. I also wondered if it would be possible to make a pair of socks using short rows to create first one side of the sock and then the other. 
Having played with the idea in my head for a while I decided just to cast on and see what happened.
The socks start with a short-row toe. Then the foot is formed by working back and forth in rows making short rows without wrapping and turning, or any other method to prevent gaps from forming. Quite the opposite, as the "seam" formed by the turns is a design feature. Once the first side of the foot has been made, more short rows are worked back and forth across the second side to fill the gap and complete the foot. This is where short-colour-change multicoloured yarn really comes into its own. One side of the foot starts with long rows which get shorter. The other side starts with short rows which get longer. Those differing row lengths cause the colours to pool into stripes of different widths on each side of the sock.
Once all the stitches have been worked and the foot is completed, what else could be worked next but, yes you've guessed it, a short row heel! I don't usually use these as I have a high instep and I find it doesn't give me the height I need without a gusset. However, this is where that short row gap comes in useful, allowing the sock to stretch at the instep and really show off the different stripes with that seam in between.
On to the leg now, and the same short row technique is used as on the foot, one side then the other, back and forth. The only part of the sock truly worked in the round is the cuff at the top! The rest is all worked back and forth in very quick short rows.
Picture
0 Comments

Educating the youth

11/4/2016

0 Comments

 
For about the last year my older son, who is 6, has been pondering the idea of learning to knit. Each time I have offered to teach him and each time he has decided maybe not right now.
Last weekend he couldn't sleep and, after trying watching TV and reading, he asked if he could try knitting. Of course he chose 9.30pm on a Saturday when I'd got no way of getting him needles or yarn except from my stash and I don't have a lot that's suitable for teaching beginners. Lace weight and slippery sharp-pointed circulars? Perhaps not. I dug out a part-ball of grey wool aran and a pair of 5mm straights and set about teaching him.
I can't actually remember learning to knit myself. Logic tells me I must have done at some point but I have no recollection of it. It seems like it's just something I've always been able to do. My mum and grandma were both knitters but neither could remember having taught me either - each assumed the other must have done it, and they're both gone now so I'll probably never know. All I do know is I'm glad I was taught, whoever my teacher was.
I do remember Mum teaching my younger sister when she was about the same age as my son is now so decided to go with that memory.
"Down the rabbit hole,
Round the tree,
Up the rabbit hole,
Out of the wood"
That was the chant they used to learn the knit stitch, through the stitch, wrap the wool, back through the stitch and off the needle.
I cast on about 20 stitches and showed him the first few, down the rabbit hole, round the tree and so on, and then let him loose. Very very slowly off he went, inserting the needle, wrapping the wool, dropping the stitch, repeating the moves until he could pull the needle tip back and then carefully pulling the new stitch off and on to the right needle. After about three quarters of an hour he'd worked three rows.
Picture
He'd had enough by then, and it was very much time for bed, but the next day he asked if he could get some knitting needles of his own. He wanted to make a case for his Nintendo DS. We went to the craft shop and found some children's knitting needles and then he picked out some multicoloured yarn to make his DS case. 
Again, I cast on, and I've had to fix a couple of split stitches, but otherwise the work is his own. It's going to take a while, this DS case, but he's going to be so proud of himself when it's finished. And I'm sure his Granny and Great-Gran would have been proud of him too.
Picture
0 Comments

Half of a pair

9/4/2016

0 Comments

 
Picture
No, not socks, not gloves, not even mitts. My latest pattern is half of a pair of kids' tank tops (or sweater vests if you're the other side of the pond!) that I designed for my twin nephews. The good thing about this pair is no second-item-syndrome either because they'll stand alone too.
This one is Little Lines. The clever thing about Little Lines is the stitch pattern. It consists of little lines (hence the name) of knit stitches on a purl background, but since it's worked in the round that would ordinarily mean a lot of purling, something I don't enjoy. So you make it inside out! The vest is worked with purl lines on a knit background in the round to the armholes, flat front and back to the shoulders, and then joined at the shoulder seam with a 3-needle cast-off. Then you flip it inside out and voila! Purl background with a minimum of purling!
The vest is sized from 0-6 months up to 6-7 years, you can find it in my Ravelry pattern store here and my little boy had a fantastic time modelling it for me!
​
Picture
The second half of the pair, Field of Sheaves, will be out nearer the summer.
0 Comments

    About me

    I love to knit, to design patterns and to talk about knitting!

    Archives

    April 2021
    March 2021
    February 2021
    January 2021
    July 2020
    June 2020
    March 2020
    November 2019
    May 2019
    April 2019
    December 2018
    November 2018
    September 2018
    August 2018
    July 2018
    May 2018
    April 2018
    March 2018
    February 2018
    January 2018
    December 2017
    November 2017
    October 2017
    September 2017
    August 2017
    July 2017
    June 2017
    May 2017
    April 2017
    March 2017
    February 2017
    January 2017
    December 2016
    November 2016
    October 2016
    September 2016
    August 2016
    July 2016
    June 2016
    May 2016
    April 2016
    March 2016
    February 2016
    January 2016
    December 2015
    November 2015
    October 2015
    September 2015
    August 2015
    July 2015
    June 2015
    May 2015
    April 2015
    March 2015
    February 2015
    January 2015

    Categories

    All

    RSS Feed

Powered by Create your own unique website with customizable templates.